Saturday, 25 January 2014

We owl wish

It was my Uncle's birthday a few days ago so I made him this sweet little owl card.

I've love owls for years and have loads of stamps but it seems I am also a little obsessed with the cute little stamps from Woodware (yes it's another one).
This stamp is really nice and really simple. I stamped him onto a piece of white card and coloured him in using Spectrum Noir pens.
The colours I used were:
TN1, TN2,TN3,TN4
JG1, JG2
EB3, EB4
LY3, CT3


I then used a Marianne die (Anja's Squares) to create the fancy square around the image and mounted it onto a lime green card background.

The greeting came from another owl stamp set (also from Woodware) and just gave the card that little extra something.


Friday, 24 January 2014

The brass tortoise

As you know there has been a theme to my last couple of posts thanks to Steampunkery by Christi Friesen.
This is another piece inspired by the characters you can find in the book. I was not as happy with this piece as I was with the others but I am using it as prototype for a better tortoise.


Tortie was made from brown Sculpey lightly dusted with mica powder to create the metallic finish. I used a clay tool to add the shell effect on the top. He has several watch parts on his body including around his eye. I added a 'leather' strap to give him a more steampunk feel.
Next time I think I will make him a little rounder, after cooking he seemed to have become a little flat.
I am currently working on some more ideas along the steampunkery lines so watch this space.

Thursday, 23 January 2014

Hello little octopus

This is another creation inspired by Steampunkery by Christie Friesen.


I apologise for the photograph but for some reason I had real problems trying to a decent image.
I had lots of fun making this octopus, I had to make his legs separately from the body as well as his top hat.
I added suckers to the bottom of his tentacles and watch parts on the top, as well as on his eyes and his hat. Then the finishing touch of purple/blue mica powder to give him a shiny finish.
I was a little worried about how this would turn out as this was my own idea (no patterns to follow), but I do like him he has his own little character.

Wednesday, 22 January 2014

A little steampunkery

Last year I received a fantastic book called Steampunkery by Christi Friesen.


So I decided to have a go at making a few little steampunk creatures. Here is my first attempt, I was quiet pleased with him actually.


I've used different colours of Sculpey clay to create this cute little chameleon. After I had put together the body I used a little gold mica powder to give the armor on his tail a bit of a shine. After he was assembled I added the finishing touches with some small watch parts.

I was so pleased with this little guy I upscaled slightly to make him a friend.


Monday, 20 January 2014

Furry Birthday

I seem to have gone all cute again. 
This little fuzz ball is a Woodware clear stamp coloured with Spectrum Noir pens.


The pens I used were TN4, TN5, TN6, OR1, OR2, OR3, PP3, JG1

 
 I mounted the image onto a piece of patterned card and then onto a piece of orange card.
Then I added a little birthday greeting.


Tuesday, 14 January 2014

There's not mushroom!


 Ok so I am going to apologise for the bad pun, I promise it'll never happen again.


 This cute little toadstool is a clear stamp from Woodware, it has been coloured in using Spectrum Noir pens.
The colours I used were:
TN1, TN2, TN4, TN5, BG1, BG5, IG1, OR1, CT2, DR3, DR4, DR5, JG1, JG2.

I rounded off the corners of the image and mounted it onto red card.

Finally I added the little 'Home sweet home' words.


Monday, 13 January 2014

Beautiful birthday bunny

We had these cute Bebunni stamps in at work just before Christmas and I thought they were really sweet. They are from Crafters Companion and there are several themes in the range.
I was really just playing about with the stamps we'd got and coloured this little chap in using Spectrum Noir pens (also from CC).
After I had finished colouring in I found this beautiful background paper, I couldn't believe my luck it was like they were made for one another.

Sunday, 12 January 2014

Valentine time

The latest DO Crafts promotion came out earlier this month and has some fantastic items for all sorts of crafters.
This card has been made using the Sew Lovely range.
The backing paper is from the Sew Lovely 12x12 paper stack and the buttons are from the big bag of buttons that comes in this range.
The card was really easy to make because the paper has a heart printed on it, so all I had to was fill it with red buttons.
I then mounted this onto cream card and in turn mounted this onto another piece of red paper from the 12x12 stack.
I added the words using alphabet stickers in red.
So first Valentine's card of the year made in January, quite cute if I do say so myself.

Saturday, 11 January 2014

On Your Birthday

First of I'd like to apologise for my photographs but due to the mirror card I had a heck of a job getting a picture without me in it.

This is my card entry for the Crafters Companion January blog challenge.
As well as the Spectrum Noir January blog challenge.

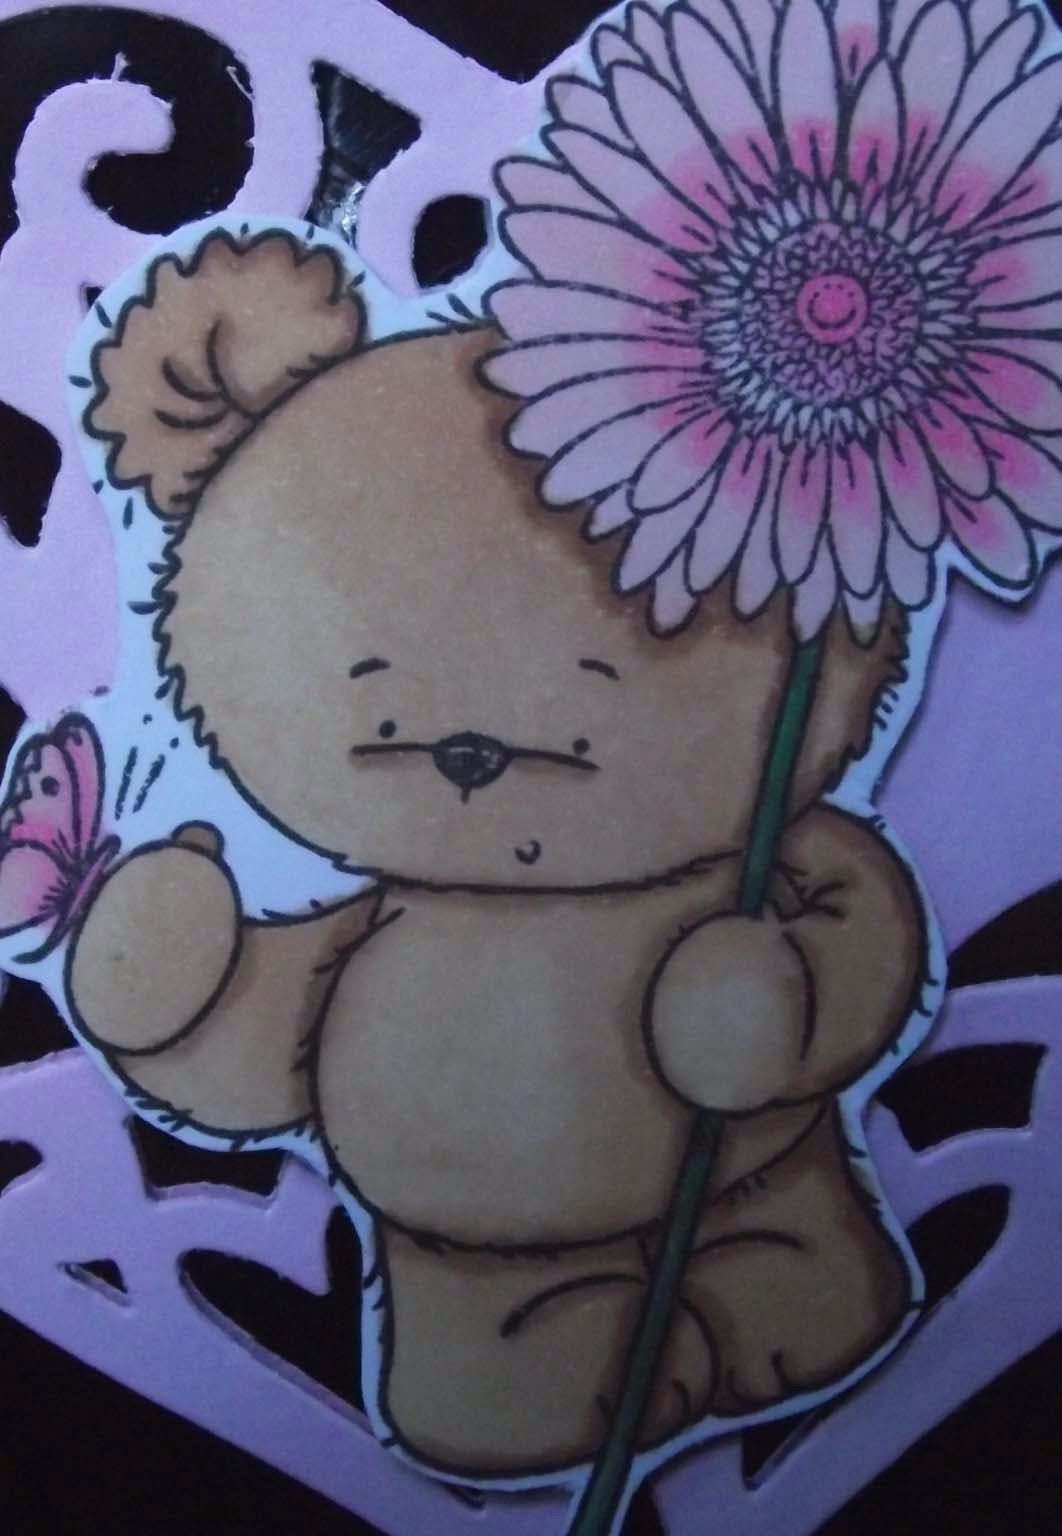
This little bear is Bamboo from the Party Paws range from Crafters Companion, although he is supposed to be a panda he has been designed in a way that he can be used as an ordinary bear.
 I coloured him in using Spectrum Noir pens, using the following colours:
Bear TN2, TN3, TN4
Butterfly CR3, CR5
Flower CR3, CR5, CR6, JG1, JG2

This heart in the background was cutting using the Heart Doilies die from Crafters Companion, I didn't emboss the die as I didn't want too much detail in the background.  
I then added a piece of silver mirror card behind the heart a piece of baby pink gingham ribbon and a greeting. 

Friday, 10 January 2014

Ouchy but beautiful

This is Teresa's other Christmas present. I have been searching for some of these glass dome necklaces for a long time just so I could make this.
The first thing I did was make the grass to fit in the bottom of the dome. This consisted of me needle felting a very small piece of green wool into a tiny flat circle (sounds easy you say), what actually happened was I lost said piece of green wool several times, including in the foam you use for needle felting. When I finally got the shape almost right I carefully glued the 'grass' into the bottom of the dome.
 Next I made the tiny toadstool from white and red felting wool. This mainly consisted of my stabbing myself repeatedly with a felting needle (if you've never seen one of these they are extremely sharp barbed needles).
After much chuntering and a bit of bleeding I had something that resembled a miniature toadstool.
So how do you get a miniature toadstool into a tiny glass dome? It was a bit of a ship in a bottle situation, but with a little more glue and a good pair of tweezers I finally succeeded.
Even gluing the metal lid to the glass dome turned into a challenge but I was really pleased with the end result.
I just hope Teresa likes it as much as she says because she has the only example of this piece of art (I doubt I'll do it ever again)


Thursday, 9 January 2014

Totally Gorjuss

Every Christmas I try to make something different for my friends at work, working in a craft shop this makes life a challenge. I mean they are all as crafty as me. So this year I decided to make everyone a personalised wooden chopping board (my risky present) and a piece of jewellery (my safe present).
Here is the present I made for Teresa who, like me, loves the Gorjuss girls range. 
I bought these lovely heart shaped wooden chopping boards in Home Bargains after a friend told me about them. 
The next step was how to get my image onto the board, I decided the best way was to stamp onto it with Stazon ink.
Then I used my pyrography tool to burn the image into the wood.
I am really pleased with the end result and I'm hoping Teresa is too.


Followers